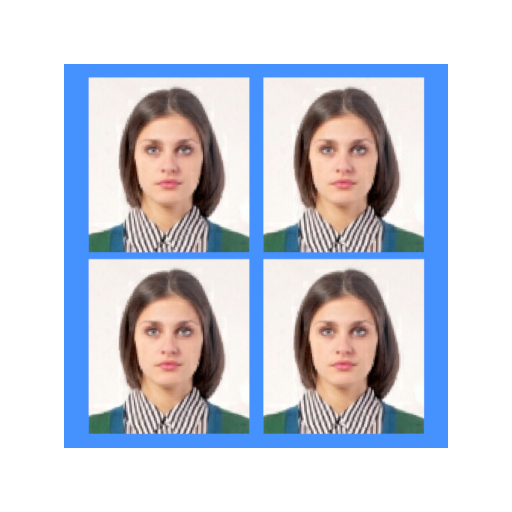
Background Eraser Photo Editor - Remove photo backgrounds seamlessly
Effortlessly delete backgrounds from photos for seamless editing and creativity.
- 3.1.9 Version
- 2.2 Score
- 1M+ Downloads
- Free License
- 3+ Content Rating


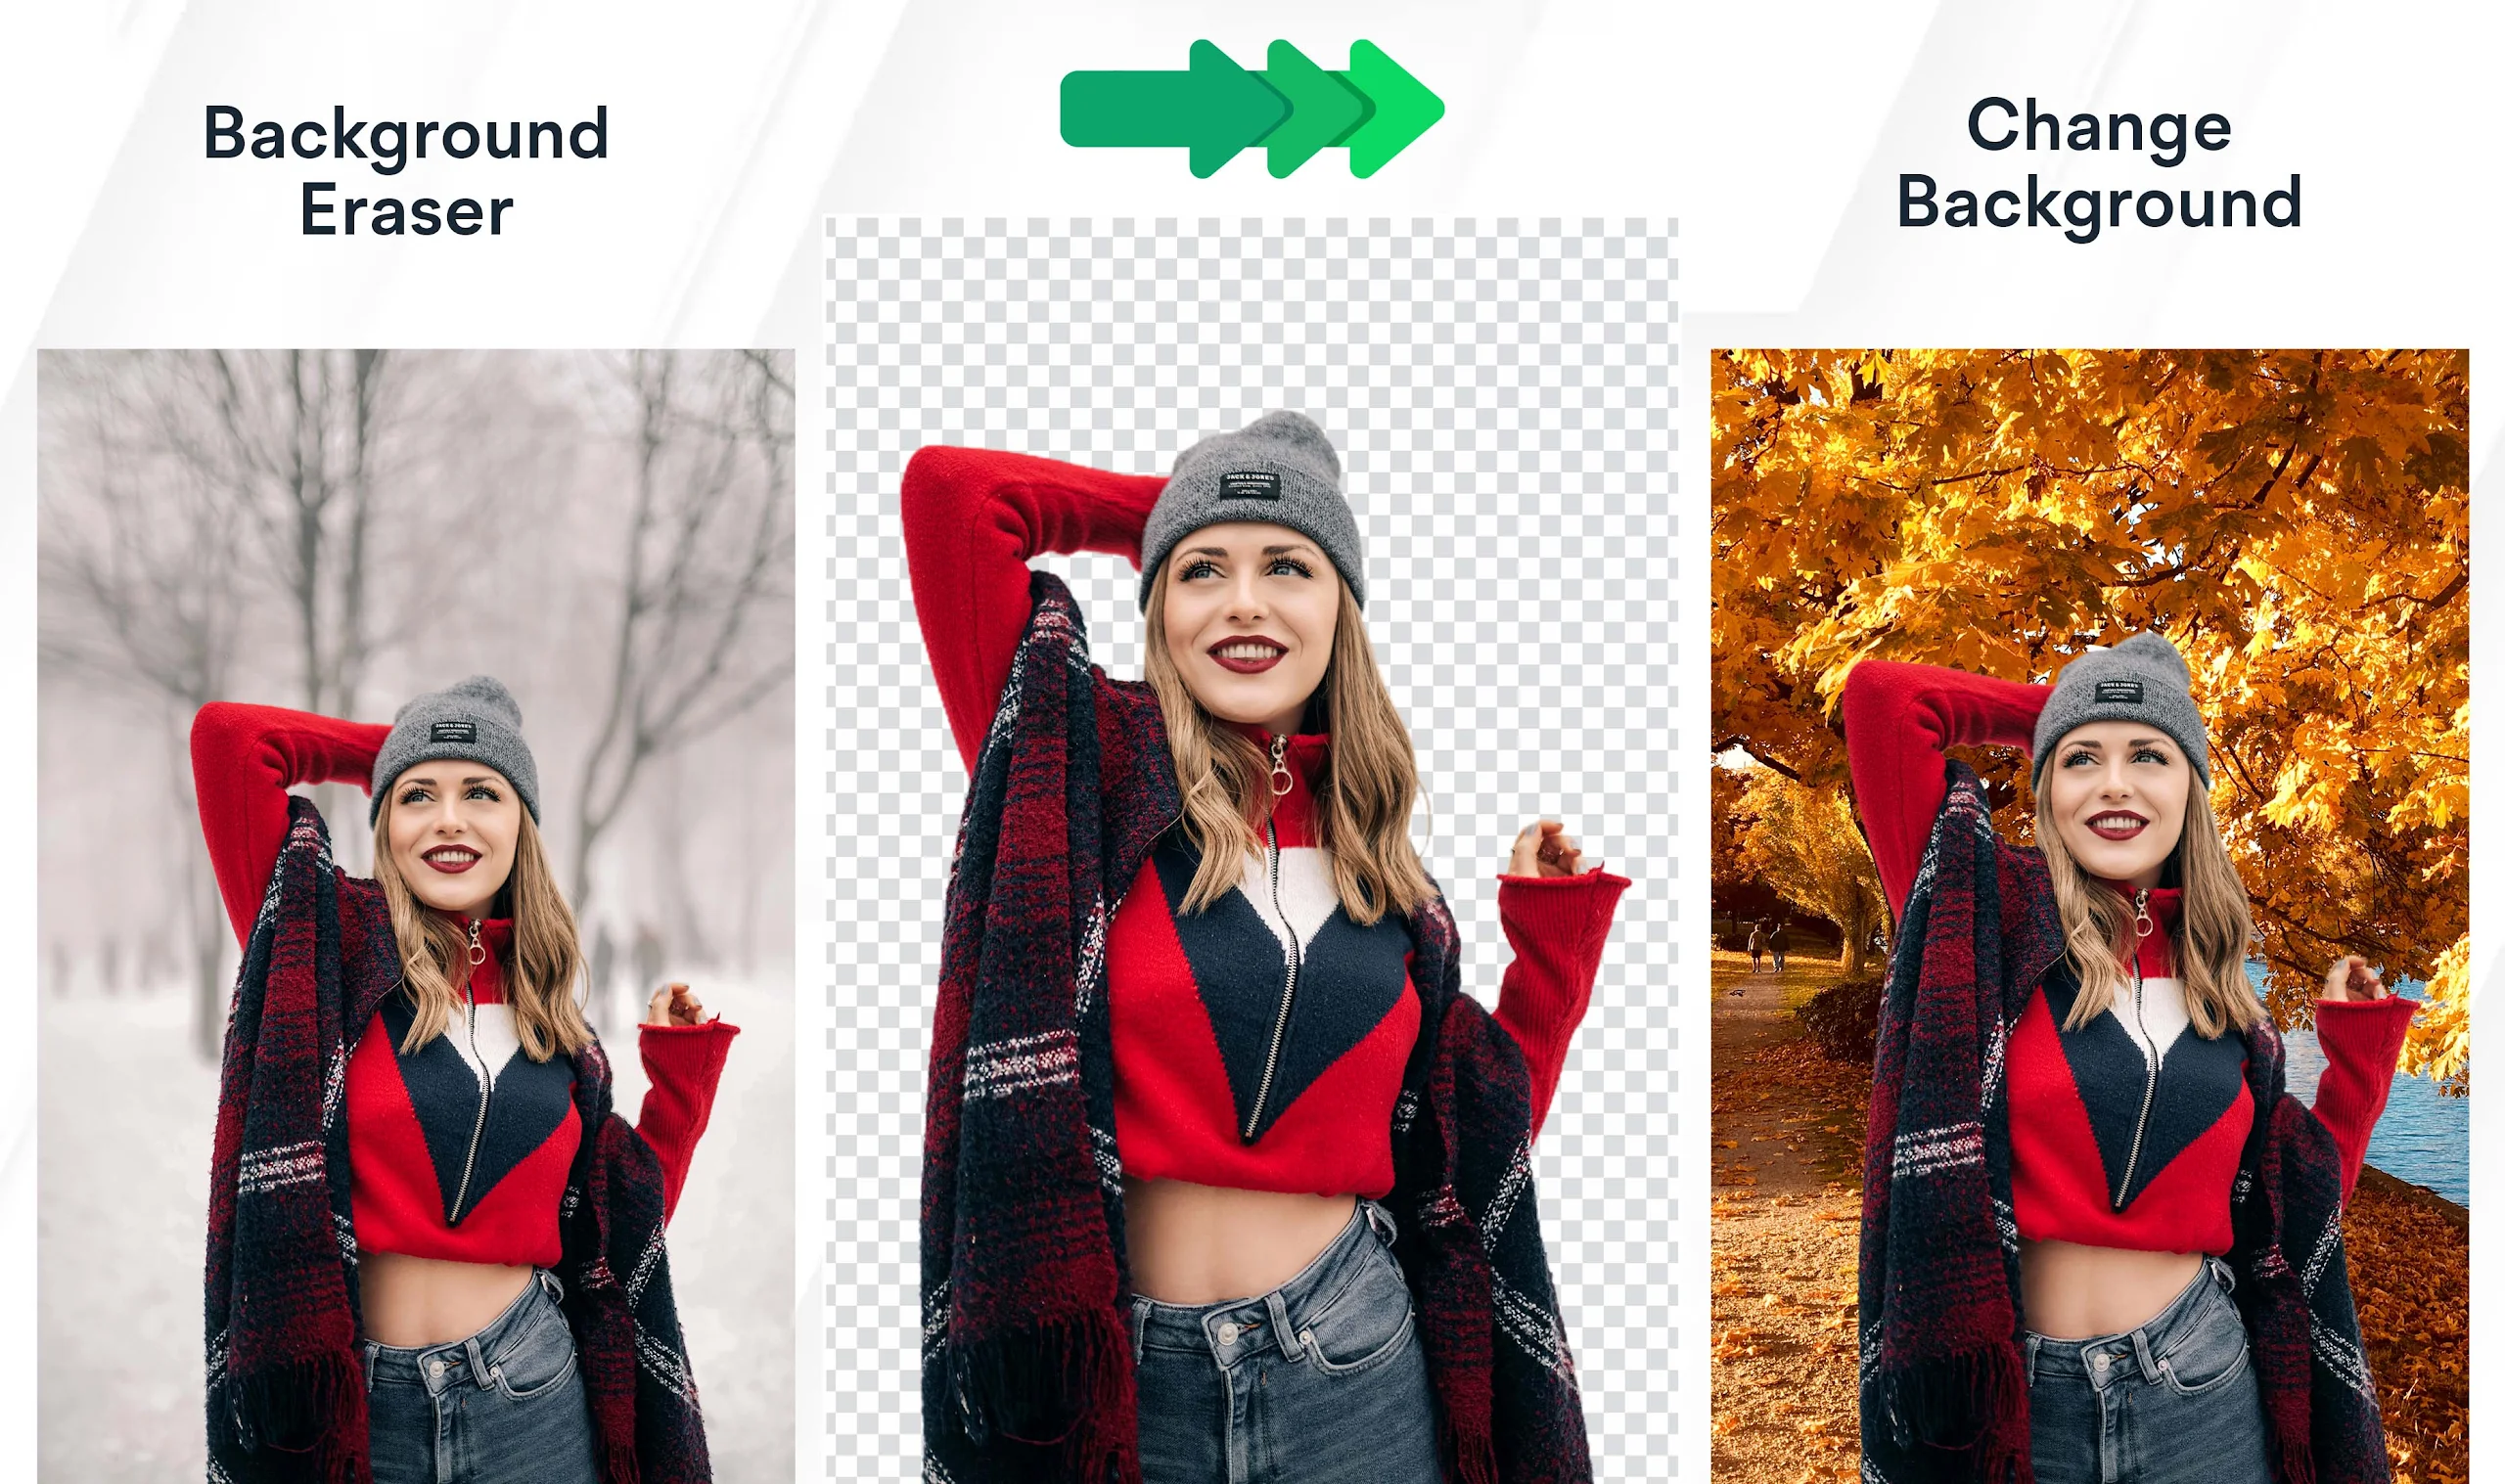


Background Eraser - Magic Eraser & Transparent Background stands out as the ultimate tool for eliminating backgrounds, cleaning up images, and creating transparent or white backgrounds!
Looking to trim a photo with a transparent or white background to turn it into a sticker? Get Background Eraser - Magic Eraser & Transparent, the premier BG Remover solution for erasing backgrounds from images!
Moreover, what more can you accomplish with our Background Eraser - Magic Eraser & Transparent Background?
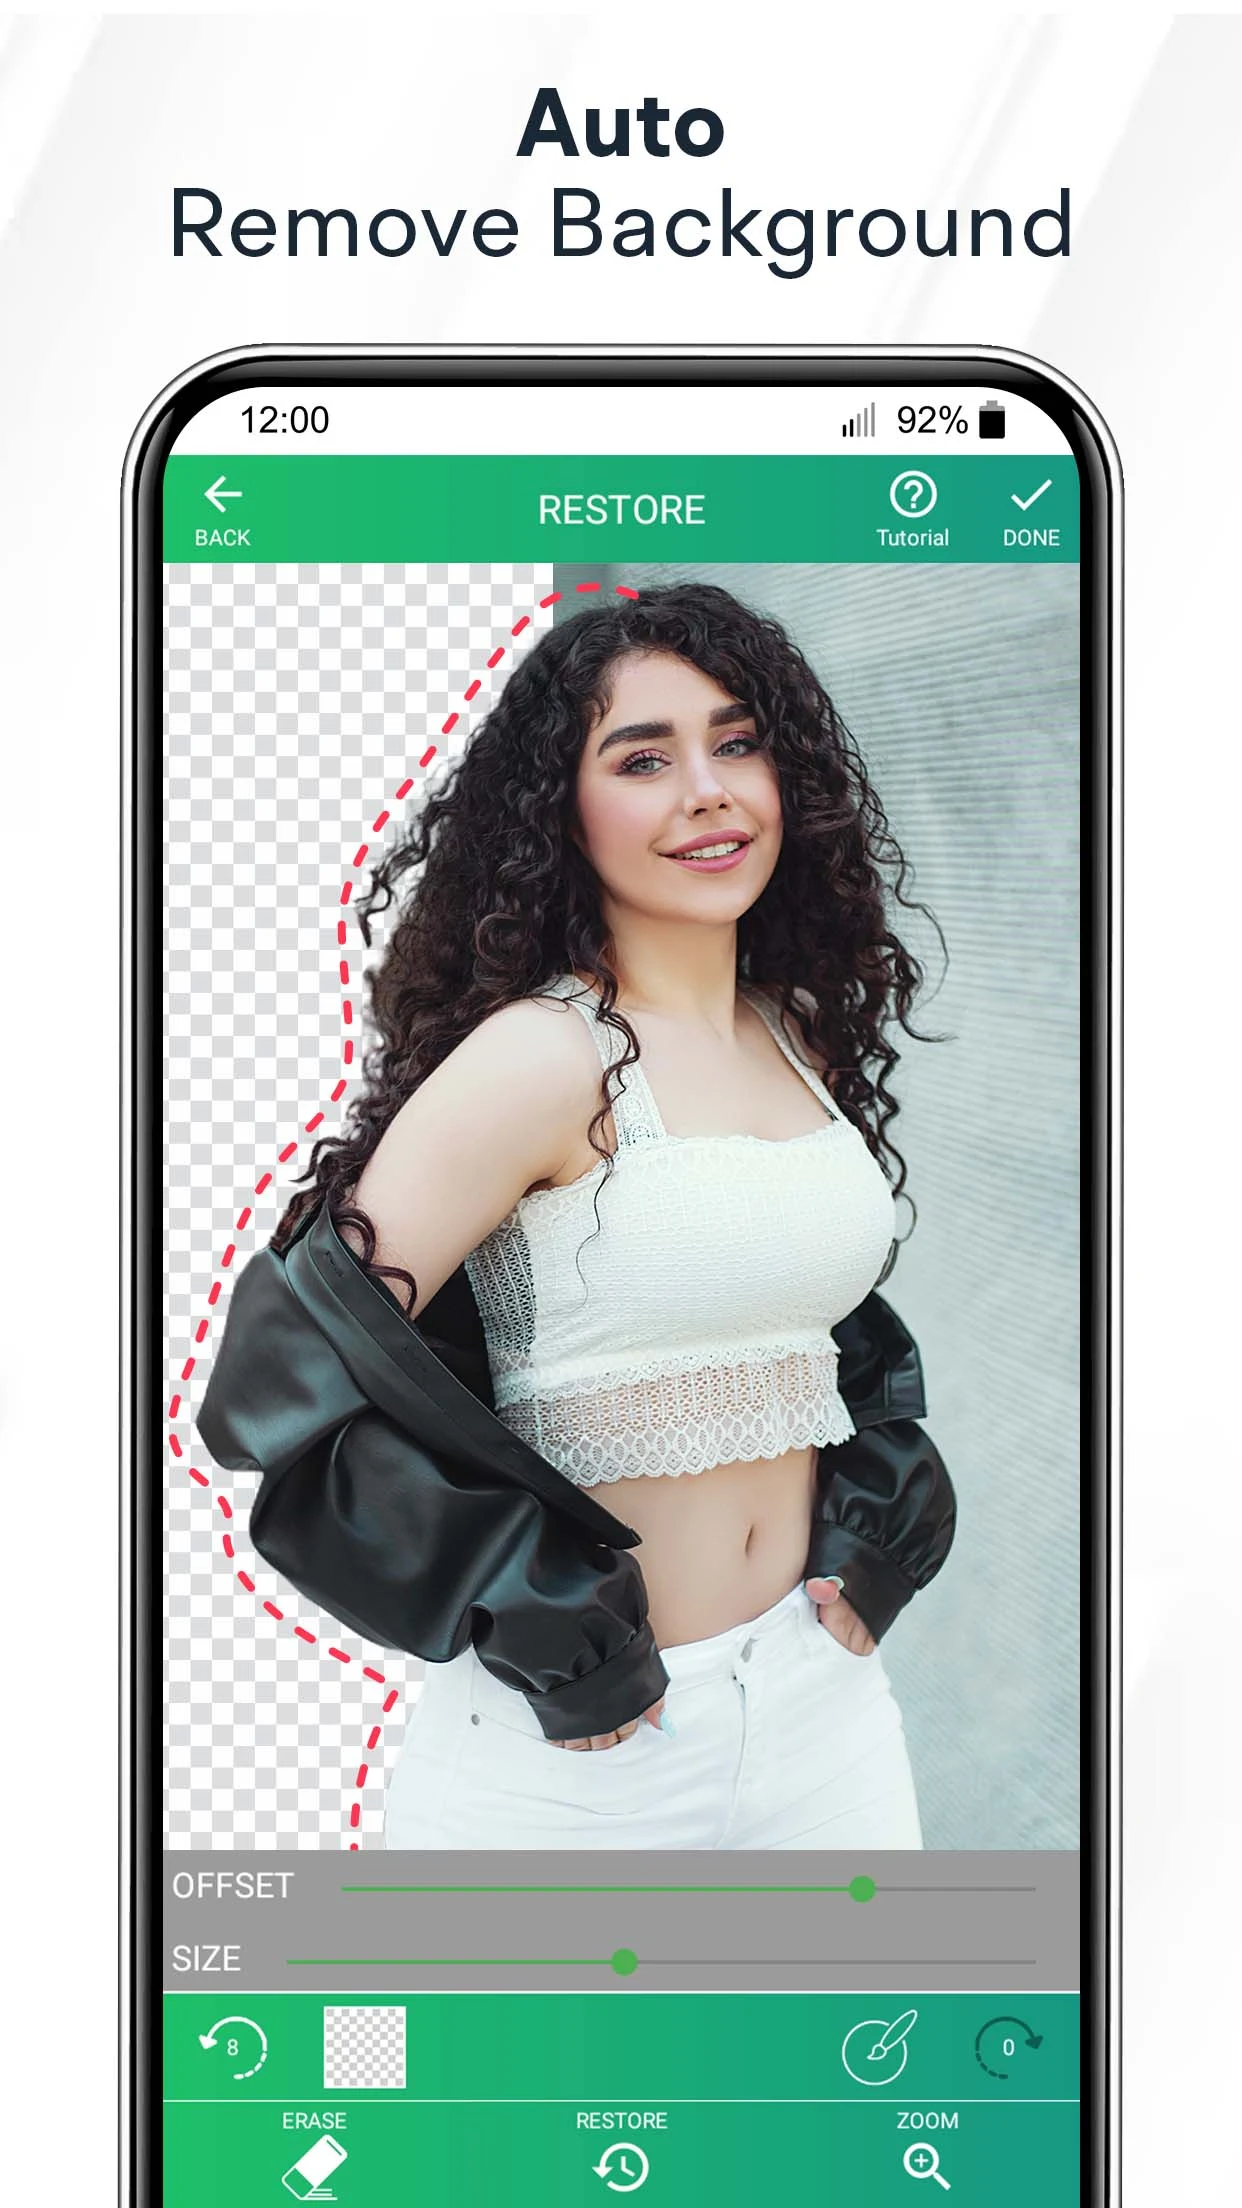
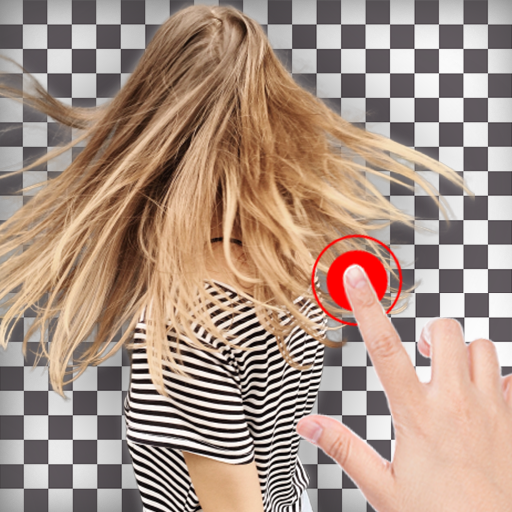
- Effortlessly erase using the auto remover feature: Background Eraser - Magic Eraser & Transparent Background offers a personalized selection tool. Simply tap on the area you wish to eliminate, turning it into a transparent or white background.
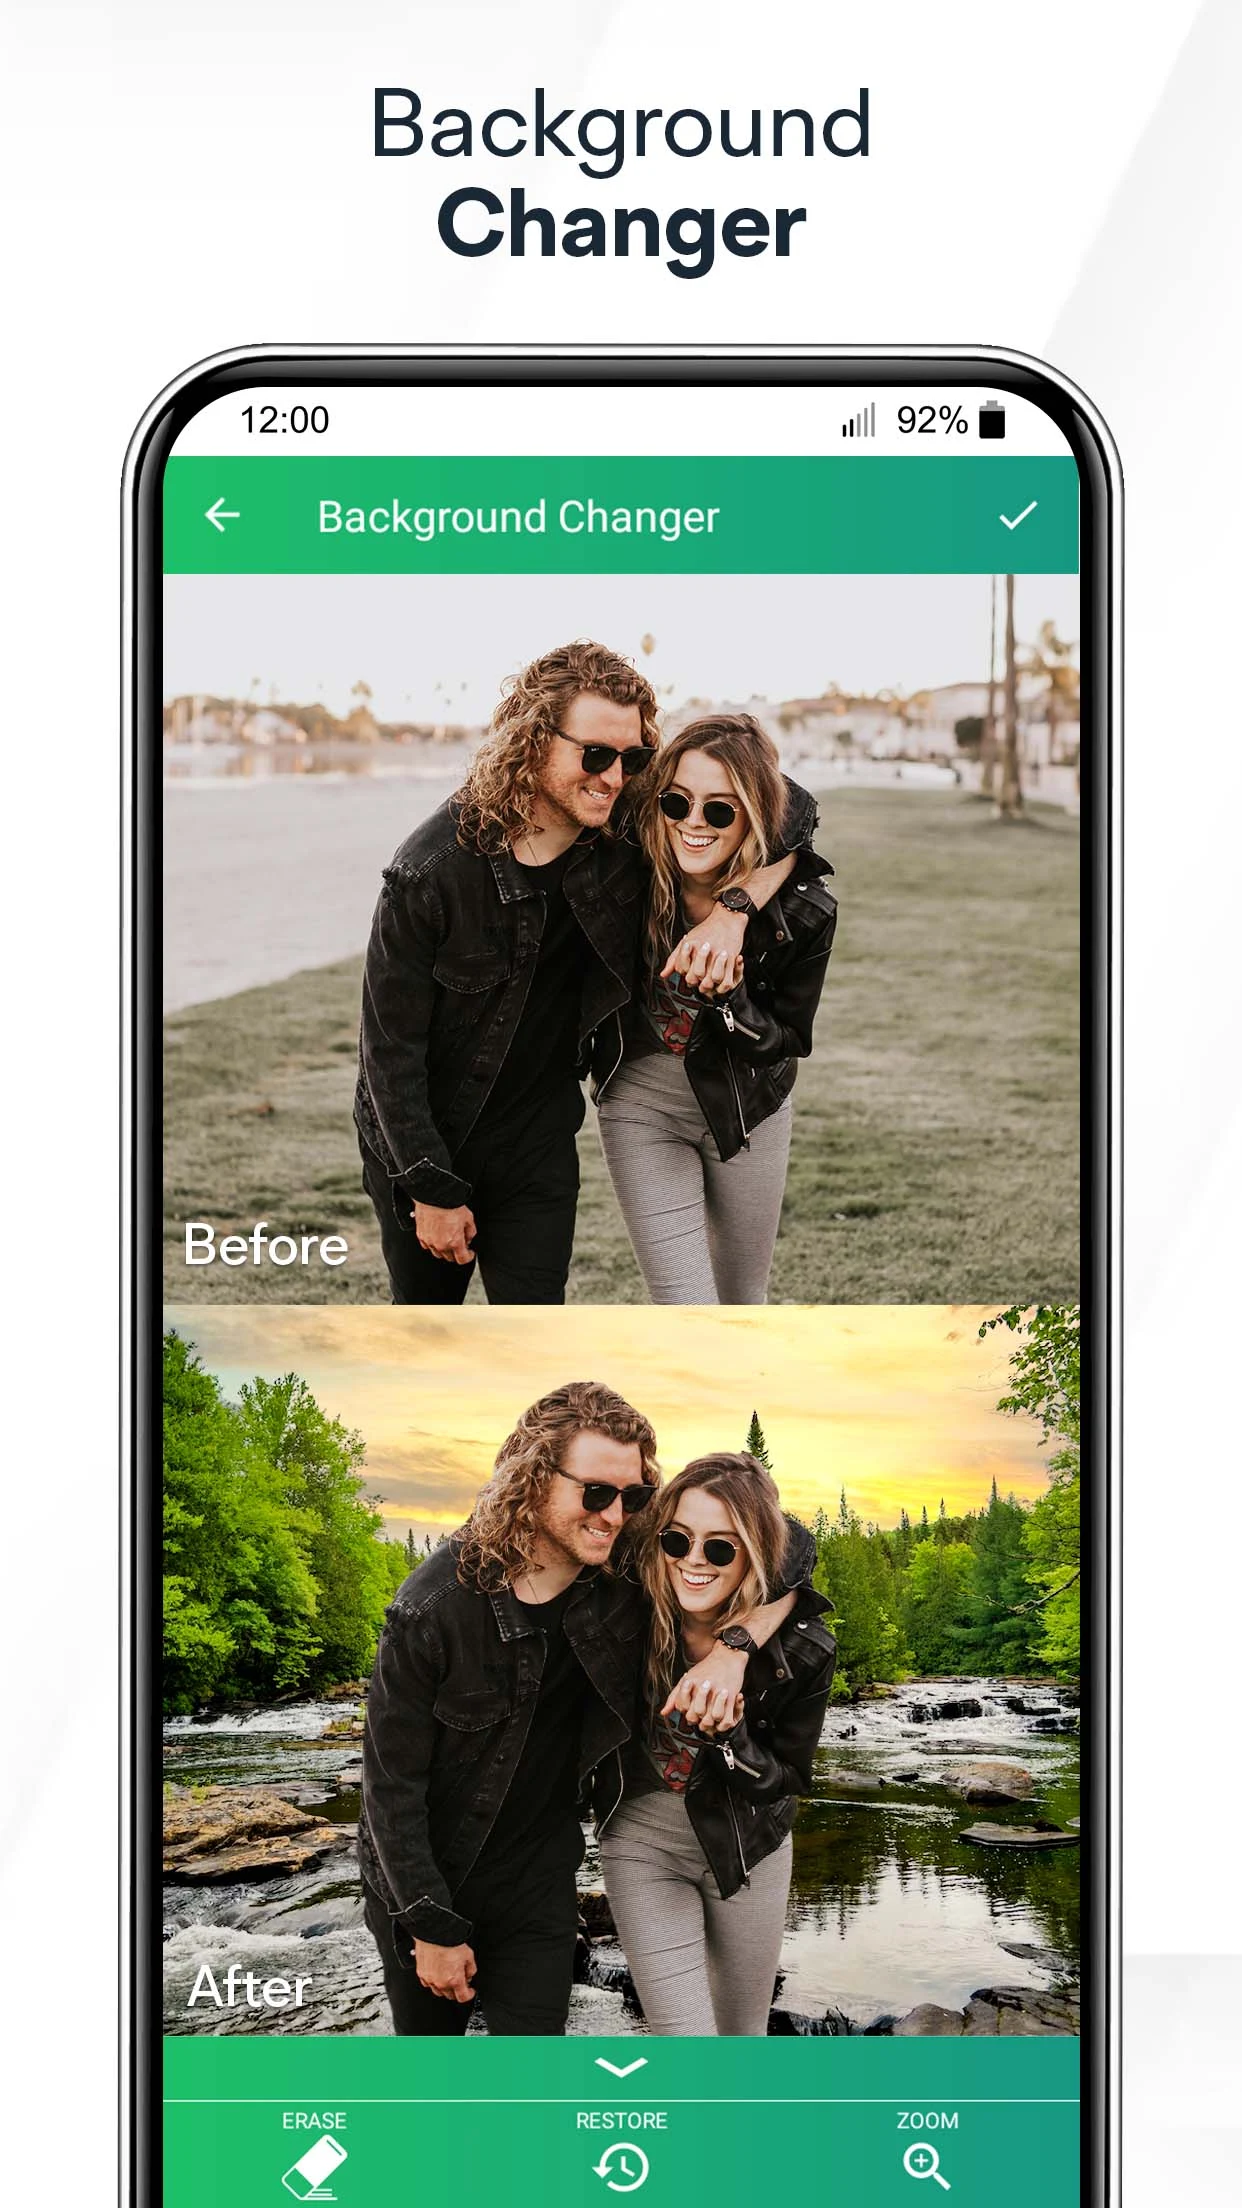
- Modify backgrounds with the background changer functionality: Once the background is removed, opt to retain transparency or add color variations (red, blue, green, etc.), import an image from your gallery, include a new background, and fine-tune the picture.
- Embrace the Magic Eraser for automatic background removal that's both swift and free! Experience the top-tier BG Remover solution.
- Essential Picture Editing Tools:
+ Adjust brightness, contrast, highlights, warmth, shadows, sharpness, exposure, and more.
Benefit from selective options for enhancing images, serving as the optimal image editor equipped with filter capabilities.
+ Regulate the intensity of all filters applied to the image, ideal for Instagram users.
+ Intuitive photo editing tools tailored for Android users, offering an unbeatable darkroom photo editing experience. Discover various photo filters and effects with this app.
- Save Content on SD Card & Share on Social Media
Disclaimers:
All rights to content are reserved by their respective owners.
Should you come across any copyrighted material within our app, please notify us immediately for prompt removal.
Contact Us: cute-wallpapers-studio@outlook.com
4 easy ways to remove a background in Photoshop: See How Eraser Works
by Etashe Linto January 8, 2024
You want to erase the background from your image so that you can clear its clutter or simply replace it with something better? Don’t worry. I’ll walk through four easy ways to remove backgrounds in Photoshop. I’ll also show you a smart tool that erases backgrounds in seconds while retaining every detail in your image — no matter how complex.
Photoshop offers several tools for background removal, and I’ll be using Photoshop 2022 v23.1 for this tutorial. Become a Photoshop master with four efficient background removal methods, from Quick Selection for swift selections to the precise edits of the Pen tool. Photoroom's AI-powered tool simplifies background removal for high-quality images without complex software.
Here’s everything you’ll learn about how to remove backgrounds in Photoshop:
- Using the Quick Selection tool for background removal
- Using the Remove Background tool to erase backgrounds in Photoshop
- Using the Background Eraser tool to remove backgrounds
- Using the Pen tool in Photoshop to delete image backgrounds
- A faster way to erase image backgrounds
- Saving time on background removal
1. The Quick Selection tool
The Quick Selection tool uses Adobe’s Sensei AI technology to detect edges in your image after you’ve painted a selection, making it easier to separate your subject from the background.
Best for: Making quick selections, images with more complex details, and when there’s a high contrast between your subject and background.
How to remove backgrounds in Photoshop using the Quick Selection tool
1. With your image open in Photoshop, click Select on the menu bar and choose Select and Mask.
2. Next, choose the Quick Selection tool from the toolbar (might be nestled in the Magic Wand or Object Selection Tool). Adjust your brush size.
3. Click and paint over your subject, and Photoshop will automatically find the edges of your image. If you mistakenly selected the wrong area, press Alt or Option (macOS) and drag over them to deselect.
4. To fine-tune your selection, go to the Properties tab (open on the right-hand side of your screen). Adjust the Smooth, Contrast, and Shift Edge sliders under Global Refinement to prevent blurred or jagged edges.
5. Finally, under Output in the Properties tab, output your selection as a Layer Mask and click Ok. Go to File on the menu bar and select Save a copy to save your image in PNG format.
PRO TIP: For an automated (but imperfect) way to remove backgrounds with the selection tool, use the Select Subject feature to select the main subject after uploading your image. Then, choose Select and Mask to refine the selection. This tip only works in newer versions of Photoshop.

2. The Remove Background tool
The Remove Background tool is easy to use but isn't ideal for detailed background removal, so you might have to use other tools to refine your selection.
Best for: Images with a single subject against a simple background, and when you need to quickly erase backgrounds without worrying about smooth edges.
How to erase backgrounds in Photoshop with the Remove Background tool
1. Open your image in Photoshop. Go to the Layers panel (right-hand side) and press CTRL+J or Command+J (MacOS) to duplicate the current layer.
2. Go to the Properties panel (above the Layers panel) and click Remove Background under Quick Actions. If you can’t find the Properties panel, click Window on the menu bar and select Properties.
3. Next, refine your edges. Click Select on the menu bar and choose Select and Mask (or the Refine Edge option if using an older Photoshop version). Set the View to Overlay (V).
4. Select the Brush tool from the toolbar, set it to Subtract from selection on the options bar, then brush off parts of the background still on the picture. Adjust the Smooth, Contrast, and Shift Edge sliders in the Properties tab (right-hand-side) to refine the edges of your subject.
5. To download, go to Output in the Properties tab, output your selection as a Layer Mask, and click Ok. Go to File on the menu bar and select Save a copy to save your image in PNG format.

3. The Background Eraser tool
The Background Eraser tool works by identifying and erasing similar colors on your background as you paint over them. It’s a good, beginner-friendly tool but not the most flexible. When you paint over the background of a photo, the tool will permanently delete the pixels from that layer.
Best for: When your picture’s background has multiple colors, or you want quick and easy cutouts without dealing with any selections or layer masks.
Before showing you how to use the Background Eraser tool, here are some important settings to know:
- Sampling options: Pick the sampling mode based on your background's complexity. For the best results, use Once sampling for single-colored backgrounds and Continuous for multi-colored backgrounds.
- Tolerance and Limit settings: Adjust the tolerance setting based on how precise you want to get when deleting background colors. 30%-50% is a good range to work with. Enable the Find Edges in the Limits option to preserve the edges of your picture's subject.
Brush setting: Open the Brush Preset picker to adjust the size, spacing, and more. Set the tolerance to Off to make your erasure easier.

You might also be interested: Add a green background to your pictures
How to remove backgrounds with the Background Eraser tool
1. Select the Background Eraser tool from the toolbar. It’s usually nestled in the Eraser tool. Then, prepare your settings using the tips about settings above.
2. Paint along the edges of your subject, keeping the center of your brush on the color you want to erase. It’s good practice to first work around the edges, especially if you’re erasing a large background. This way, you can speed up the process in the next step.
3. Switch to the Eraser tool from the toolbar, set the opacity to 100%, and erase the rest of your picture’s background that isn’t near the edges.
4. After erasing the background, add a background color to double-check your work. For this, click the Layer Effects icon (circle at the bottom right-hand corner of the dashboard). Click on Solid Color and pick a color you want. Drag the new color fill layer below Layer 1 and you’ll immediately see the areas that need touching up.
5. From here, continue using the Eraser tool to remove the parts you missed. But switch back to the Background Eraser tool to touch up areas near the edges of your subject.
6. Finally, click File at the menu bar and select Save a copy to save your image as a PNG file.
 Transform your images in seconds with our photo editing software —where simplicity meets precision. Explore its magic today!
4. The Pen tool
The Pen tool gives you the most control over your edit but requires patience and practice. It allows you to manually trace the outline of your subject with anchor points and curves, which can be time-consuming.
Best for: When you need to make specific selections or are working on images with intricate details or irregular shapes.
How to delete backgrounds in Photoshop with the Pen tool
1. With your image open in Photoshop, press P on your keyboard to launch the Pen tool—or find it in the toolbar. Set the tool to Path mode by selecting Path in the options bar.
2. Press Ctrl + to zoom into your image. Click on different ends of your picture to create anchor points and map out your subject.
3. When you add an anchor point between two ends, you’ll notice that it appears in a straight line. To create a curved line, click and hold your mouse at one anchor point. Drag the control arms to refine the path, and use the Alt or Option (macOS) key to modify individual arms. Try to make sure the control arms align with the edge. To correct a mistake, press Ctrl or Cmd (macOS) and click an anchor point to move it.
4. After mapping, click Selection on the options bar or right-click on your image and choose Make Selection. Click OK to convert your path into a selection. Unlock the image layer. Click the Layer Mask icon (bottom of the panel) to remove the background. You can use the Brush tool to make adjustments.
To download your work, click File in the menu bar and select Save a copy to save your image as a PNG file.

Erase backgrounds faster with Photoroom
If you have zero editing skills or don’t have the time to figure out several tools, you can use Photoroom’s background remover. The tool uses image recognition and segmentation algorithms to automatically remove image backgrounds and help you seamlessly create higher-quality images. It’s a complex process, but you can rest knowing that you don’t have to do any of the labor.
All you have to do is go to sign up to use our Web editor or — if you prefer working on your phone — install the app for free on your iOS device or Android device. Then upload your picture, and you’re good to go.

After deleting your background, you can resize your picture, adjust its lighting and shadows, or use AI to create gorgeous, custom backgrounds that match your picture’s subject. You can save even more time by using the Batch Mode feature to quickly delete backgrounds from hundreds of images at once — especially useful if you’re a business owner.
“I use Photoroom to edit my photos. It is great because it has the option to bulk edit,” Ashley Peek, a top seller on Poshmark said after using the Batch Mode feature to create high-quality images that boosted revenue by 45x. “It’s important the images are high quality and show off the item in the most desirable way possible,” Ashley adds.
Save time on background removal
Now that you know the easiest ways of removing your photo’s background, go ahead and try these tools to see which works best for you.
If you’re not sure where to start, use the tool that requires little time but still does a professional job of deleting backgrounds. Modern technology like Photoroom works fast while retaining the fine details of your image, allowing you to save it as a high-quality file that you can use in your creative designs, website, or storefront. What's not to like about that? Use Photoroom on the web or mobile app (Google or Apple) and save hours for more meaningful tasks.
- Version3.1.9
- UpdateSep 23, 2024
- DeveloperAZ Mobile Software
- CategoryPhotography
- Requires AndroidAndroid 5.0+
- Downloads1M+
- Package Namecutewallpapersstudio.auto.background.eraser
- Signatured919675d1b43e3bb3a6d9a9372c5e251
- Available on
- ReportFlag as inappropriate
-
NameSizeDownload
-
30.20 MB
-
23.36 MB
-
31.07 MB


most featured background eraser
well arranged easy tool
not include auto remove
offset slider is opposite to the normal way