Meridian 157: Prologue
Unravel a thrilling mystery on an abandoned island in this interactive adventure
- 1.9.7 Version
- 4.8 Score
- 1M+ Downloads
- Free License
- 3+ Content Rating
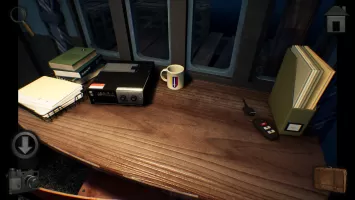
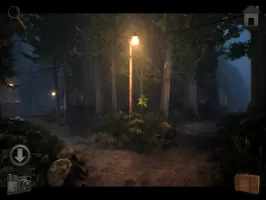
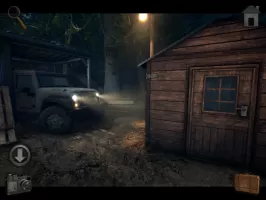
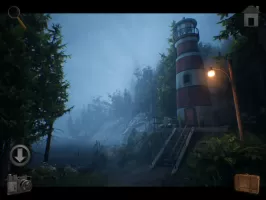
Meridian 157: Prologue is a captivating point-and-click puzzle game that offers engaging puzzles, immersive visuals, and an intriguing storyline. Join detective David Zander as he investigates a mysterious weather anomaly in the northern Pacific Ocean. Challenge your problem-solving skills to progress through the island and unveil the secrets hidden on the 157th meridian.
Key features include:
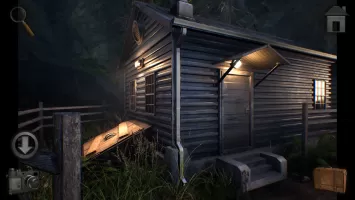
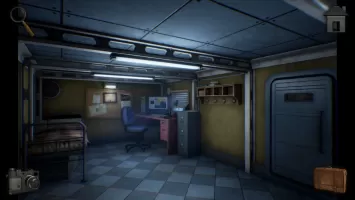
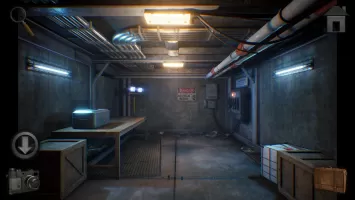
• Stunning graphics accompanied by atmospheric sound effects and animations
• Numerous challenging puzzles and riddles suitable for all players
• Immersive ambient music tracks
• The first installment of an exciting narrative
• Logic-based clue system
• Completely free with no advertisements
• Inspired by classic escape room, hidden object, and exit-style games
• Available in 8 different languages
Experience this free puzzle game now and dive into the mystery of Meridian 157!
Meridian 157 Prologue Walkthrough
Difficulty and Controls
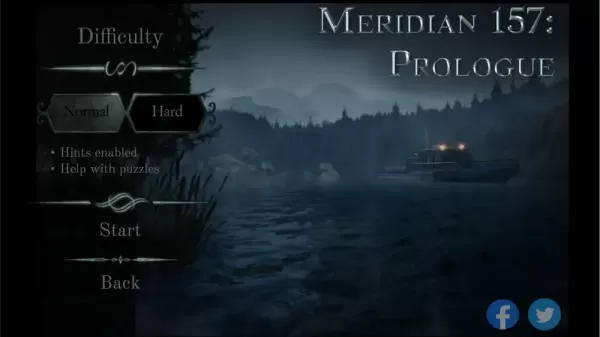
Before the game starts, it will ask you to choose your difficulty between Normal and Hard. The only difference between the two of them is that the Normal difficulty has hints enabled while hard has it disabled. The actual puzzles do not change.
The game automatically saves its progress so there is no need to pause and save.
Controls
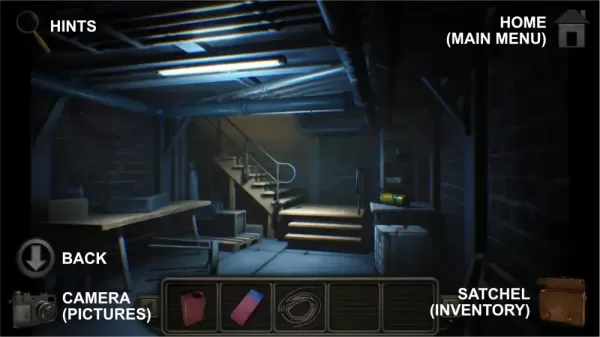
Back Arrow – This takes you to the previous scene.
Magnifying Glass – Gives you hints. Very helpful for times when you are stuck in a puzzle. In hard mode, this is absent.
Home – Takes you to the Main Menu.
Satchel – Tapping on this brings up your inventory which shows 5 slots at a time but can hold more than 5 items. Each item that has served its purpose will be automatically discarded from the bag.
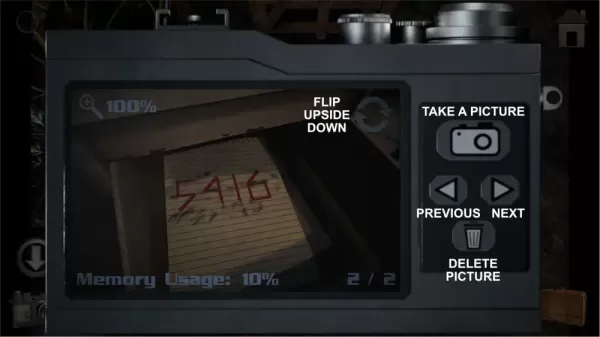
Camera – Takes screenshots by tapping on it and then tapping on the camera icon. This is helpful for referencing clues for puzzles. You have a limited amount of pictures you can take, so if you’re done with one image, you should delete it with the trash can icon. One image takes up 5% of your Memory Usage.
This means that your camera can only hold 20 images at a time. Tapping the arrows will allow you to browse through the images. Tapping the rotate icon will allow you to flip it upside down and vice versa. You can also zoom in and out of images with a zooming gesture with your fingers.
You can move from place to place and collect items by tapping on them. To use items you’ve collected, open up your satchel and drag the item towards another item on the screen.
Meridian 157 Prologue

Investigating the Anomaly
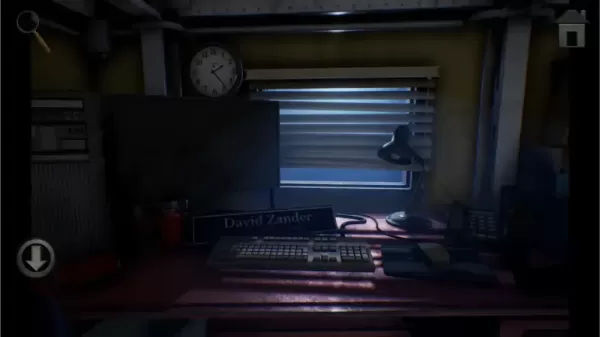
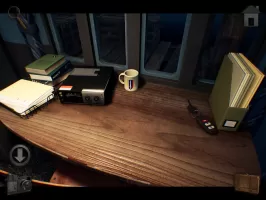
You wake up from your sleep and realize that the power is gone. Turning it back on would be your first task. Before you leave your office, take two steps back and check your shelf. Take the satchel and camera then use the back button and exit the office.
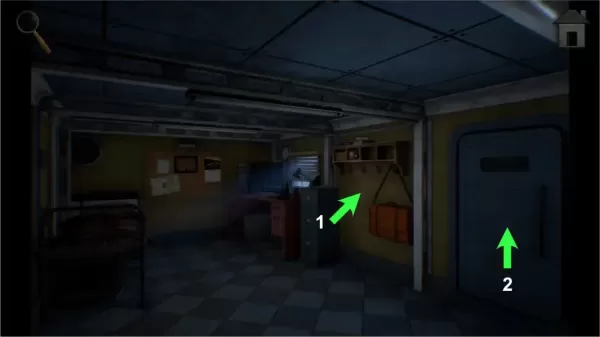
After leaving, you will notice that the fuse box by the upper left part of the screen is blown. You will need a ladder to help you reach it and a screwdriver to open it so that you can repair it. You will have to search your car and the shed for items that may be useful. However, the car is locked and the inside of the shed is too dark so you’ll have to find your car keys and a way to light up your shed without power.
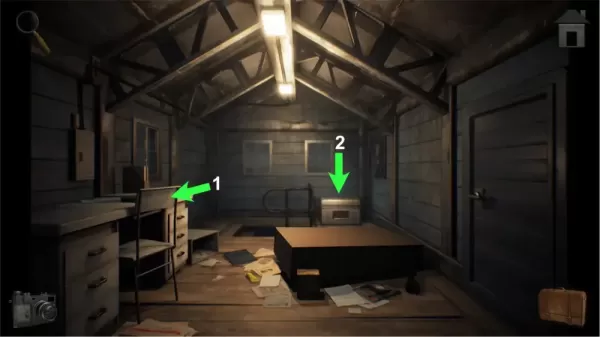
To get the car keys, you will need to go to your boat. Tap the back button until you get a bigger view of the site then tap on the sign that leads to the beach.
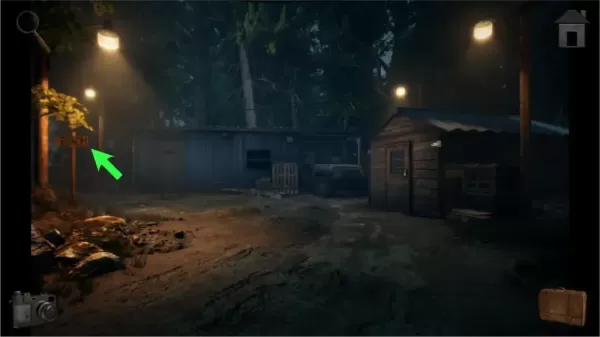
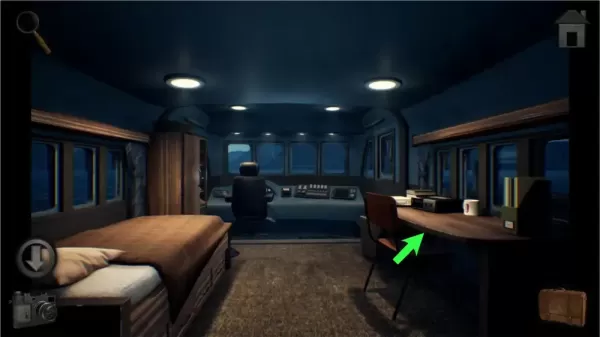
Keep tapping forward until you enter the boat. Check your desk, take the car keys, and go back to the site where your car is. Use the keys to unlock the car and enter it.
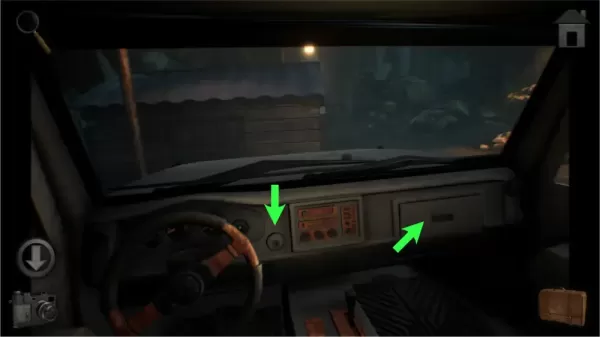
Upon entering the car, open the compartment and take the screwdriver inside. Place the keys in the ignition to turn on the car’s headlights, lighting up the inside of the shed.
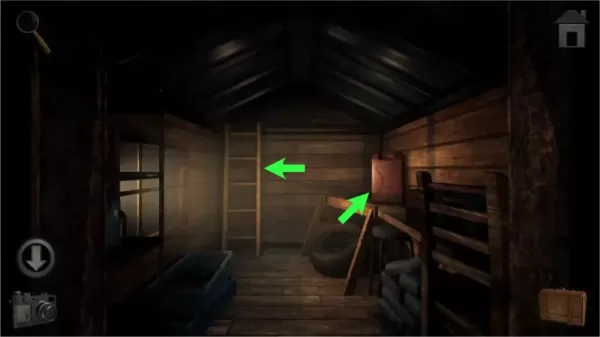
Inside the shed, take the ladder and the filled jerry can.
Go back to the front of your office where the fuse box is and place the ladder below it. Once the ladder is placed, tap on the fuse box to get closer and use the screwdriver on it.
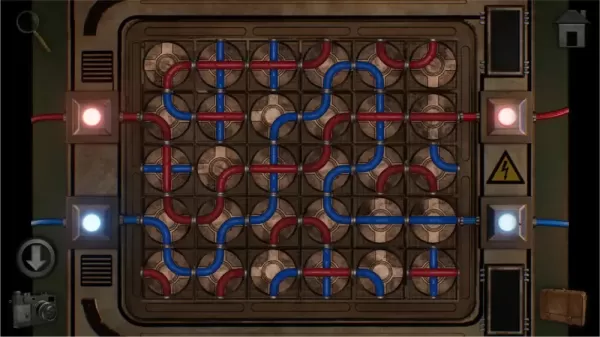
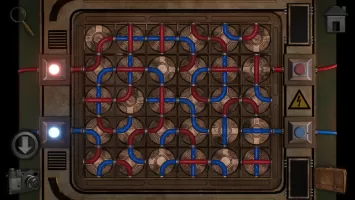
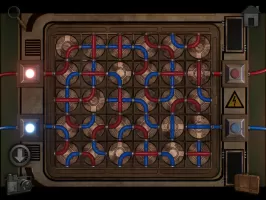
Open the fuse box. This will start a puzzle mini-game where the objective is to rotate the wires by tapping them to connect the start and end of the red wires and the blue wires. You can only connect blue to blue and red to red. There is more than one way to connect just the red wires but only one way to truly connect the blue wires in our experience. Once you get the blue wires connected, finding a solution where it intersects but also connects the red wire will be a lot easier.
The solution should look like this:
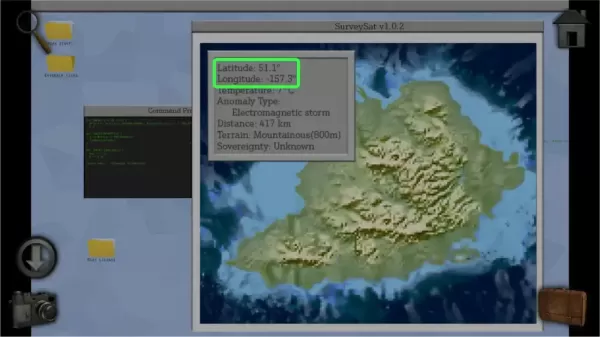
Once the fuse box is fixed and the power comes back, go back to your office and tap on your computer screen. It will display a map and tell you that an anomaly has been detected on a small island far away from Anchorage, your current location. Tap on the small island to zoom in on it and get the details. Write down the latitude (51.1°) and longitude (-157.3°) or take a picture of it and go to your boat.
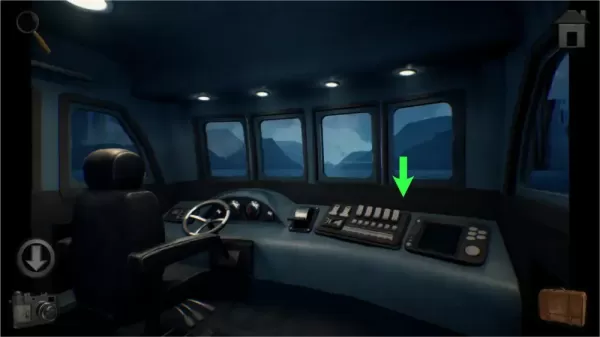
Go to the control panel of your boat and tap on the controls on the right side of the steering wheel. Type the latitude and longitude from before and tap “Plot Course.”
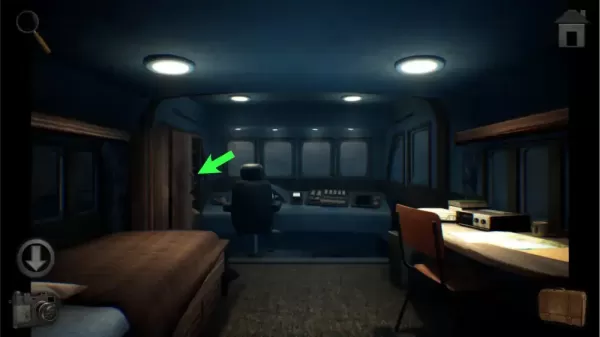
After 11 hours of sailing, you will eventually arrive at the mysterious island. Tap on the bed and you will go to sleep and play a short cutscene.
Unlocking the Metal Door
After the cutscene, check the cabinet at the edge of the bed. Open the cabinet door and take the eraser.
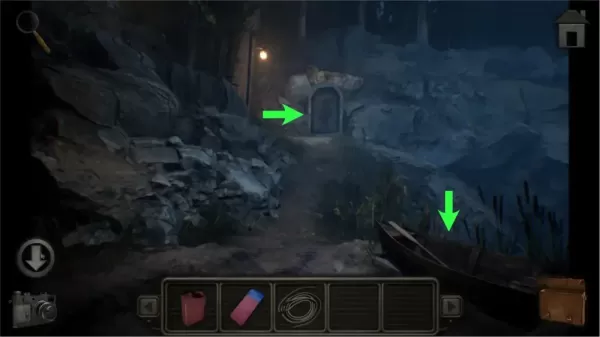
Leave the boat and go to the island. Moving forward, you will see a small rowboat to the right. Inspect it and take the rope. Moving one more step forward, you will see a mysterious metal door. You will need to find 3 rings to insert in those slots in order to open it.
As you follow the path, you will encounter a fork in the road. The right path leads to a drawbridge while the left path leads to a site somewhat similar to the one where you started the game. The drawbridge cannot be lowered and passed at this time so go to the left path for now.
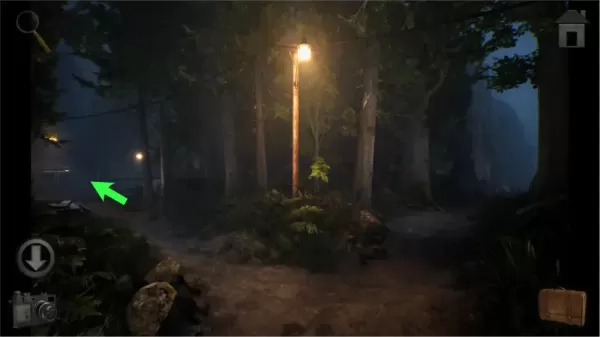
At the site, tap on the area to the right with the wooden crates and take the crowbar. If you investigate the pole, you will notice that it is missing something. You will need to find a crank to put on it to pull down the flag attached to it.
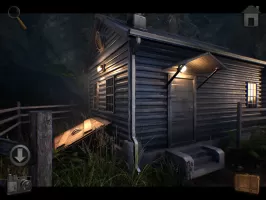
Leave the area for now and approach the house on the left. The door is locked and the only way for you to enter is through the doors that lead to the basement.
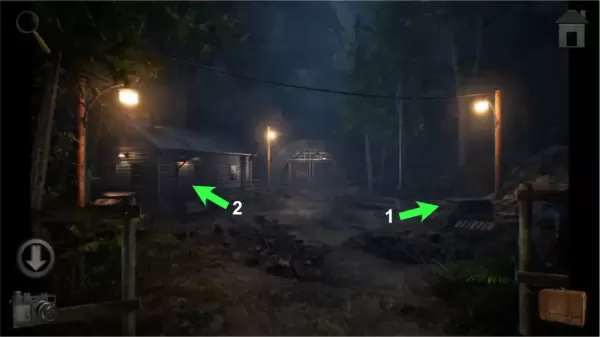
Use the crowbar to remove the wooden planks then enter the basement. Take the yellow scuba tank and go upstairs.
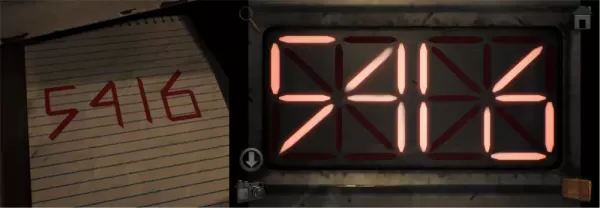
Once you’re upstairs, you will notice a desk and a white box to the far right. Tap on the desk and open the drawer. Inside you will see a notepad with an area blacked out by a pencil. Take out your eraser and use it on the notepad to reveal a number code. This number code will be used to open the metal box from before. Pay attention to the lines used to create the numbers as it will be important.
Exit the drawer and approach the metal box. Upon tapping the box, you must input the number code from before with the exact lines. Upon opening the metal box, take the bolt cutters inside it. You can exit the house through the door at this point.
Back at the site, approach the barbed wire doors in the middle. Use the bolt cutters on the chains binding the doors together. Open them and enter the tunnel.
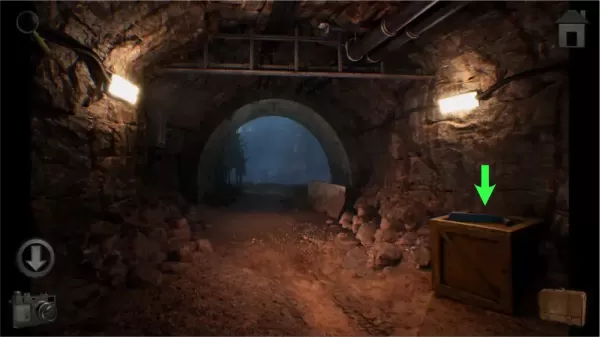
Inside the tunnel, you’ll see an oil drum to the right. Approach it and place the jerry can next to it for now. You will need a hand drill to pierce the barrel and a hose to transfer the oil to the can.
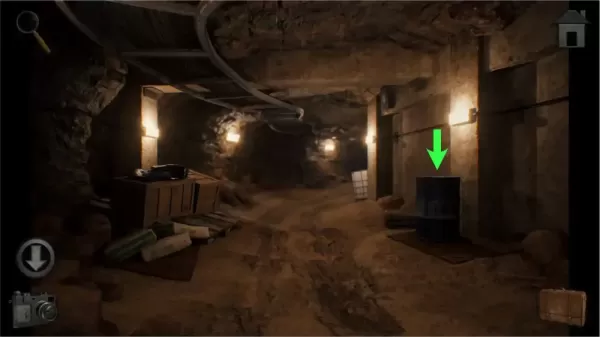
Move forward until you see the end of the tunnel. Take the blue crank sitting on top of a wooden crate to the right. If you move forward, you will eventually get to the lighthouse but you won’t be able to enter yet because something is blocking the door from the other side. You will have to find another way later.
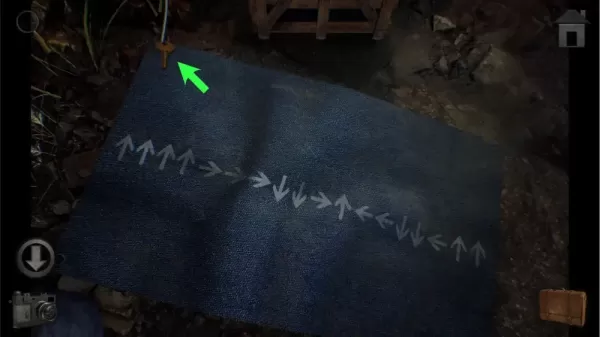
Go back to the site and approach the pole. Use the crank on the pole to bring the flag down. The flag will have a series of arrows which is a clue to a puzzle in the Control Room. Don’t forget to take the key at the upper right corner of the flag.
Go back into the tunnel and enter the Control Room to the right. Inside you will see a series of levers on the far right side of the room. This is the control panel that will lower the drawbridge.
To understand how the arrows in the map relate to the drawbridge puzzle, we’ve drawn a diagram below. Each arrow is used to draw a pattern that shows which lever should be at what level.
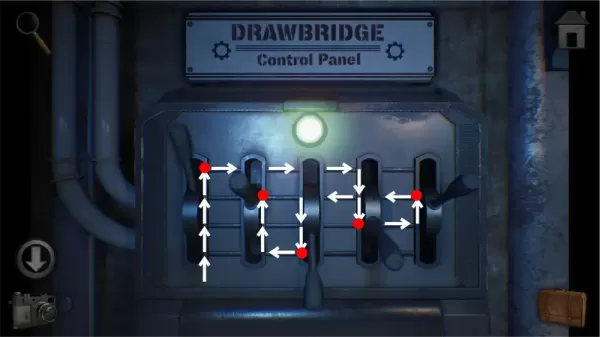
To simplify things, with the lowest level as 1 and highest level as 4:
First Lever – Level 4 (all the way up)
Second Lever – Level 3
Third Lever – Level 1 (all the way down)
Fourth Lever – Level 2
Fifth Lever – Level 3
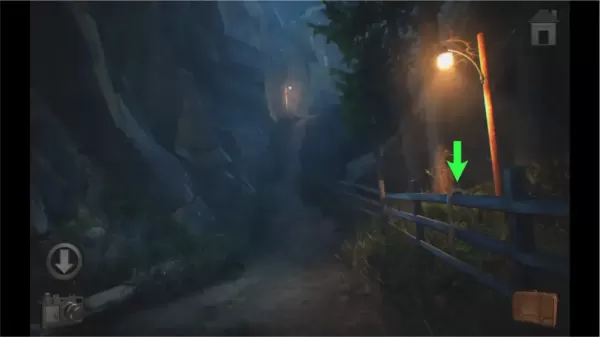
The light on the control panel will turn green signifying that the drawbridge has been lowered. Exit the cave and go back to the fork in the road. Turn right this time and cross the drawbridge. As soon as you do, take the hose hanging from the fence at the right, underneath the lamp post.
Keep moving forward and enter the tree house. Upon entering, inspect the table to the right and take the medium-sized ring. Use your rope on the hook to turn it into a grappling hook and take it.
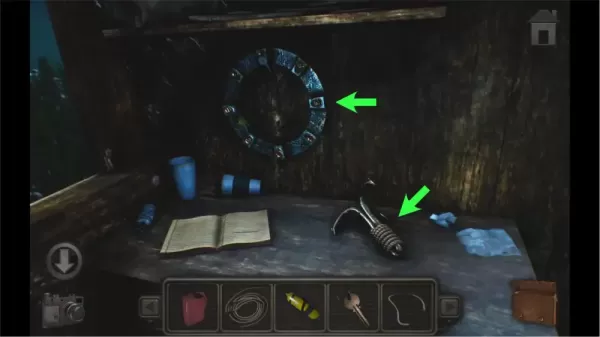
You can inspect the notebook on the desk to read a bit of lore about the man who got stranded on the island. Nothing in this notebook is useful for any of the puzzles except for the hint about looking into the telescope. However, if you try to look into the telescope at this point, you won’t be able to see anything. This is because it is missing its lens. You’ll have to find it elsewhere.
Leave the treehouse and go back to the lighthouse by going through the tunnel. Once you’re at the lighthouse, use the grappling hook on the window above and climb up. If you go upstairs, you can use the key you found on the flag on the locked hatch. Exit through the hatch and tap outside the window. Take the large ring by the terrace.
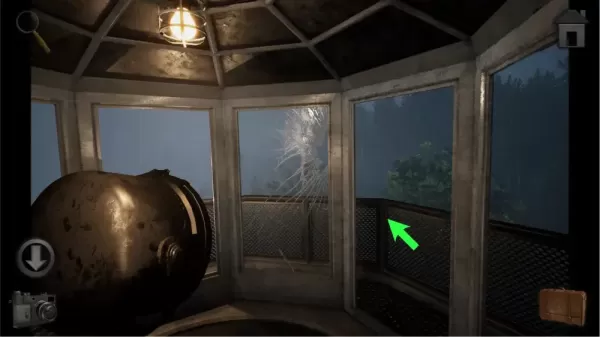
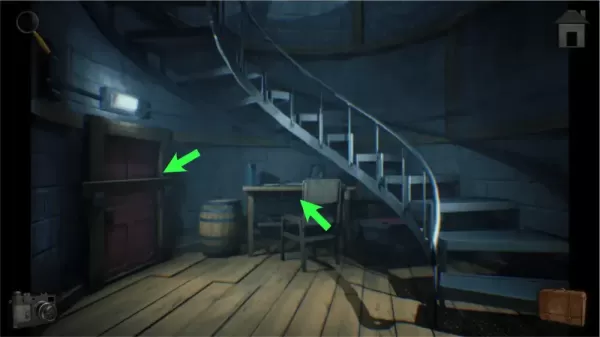
Afterward, go downstairs, inspect the table, and take the old lens. Remove the wooden plank on the door so you can enter and exit through it.
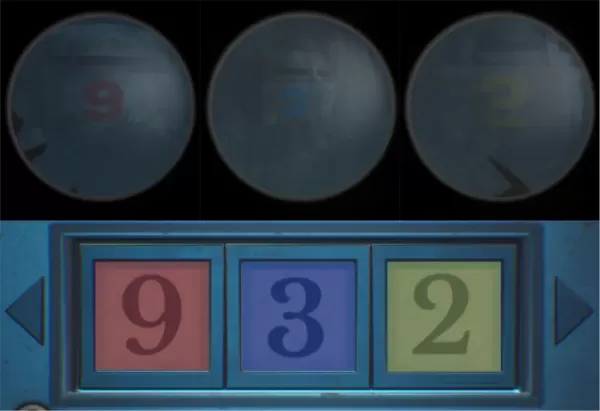
Go back to the treehouse and place the old lens on the telescope. Use the telescope and look around. You will see three numbers in different colors. A red 9 found to the left, a blue 3 found at the middle and a yellow 2 found at the right. This code is a hint to opening the locked box in the Control Room which is found on the table to the left.
Use the left and right arrows to shift the colors of the numbers then use the up and down arrows to change the numbers. Once you’ve input them and it opens, take the scuba mask and the small ring.
Tap the back button several times until you get to the metal door with the odd mechanism that is close to your boat at the beginning of the game. Use the small, medium, and large rings on the door to open it.
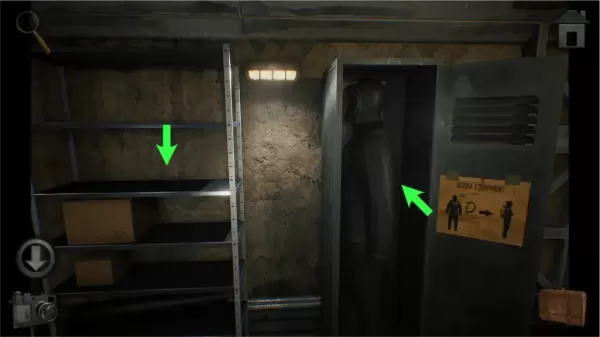
Once inside, investigate the shelf at the right. Take the flashlight on the shelf then open the locker. You’ll find a scuba suit but you’ll need to place the scuba mask and scuba tank on it before you can take it.
Leave the area and move forward. Swim into the water and take the left path. Take the hand drill on the shelf and go back to the tunnel area just before the Control Room.
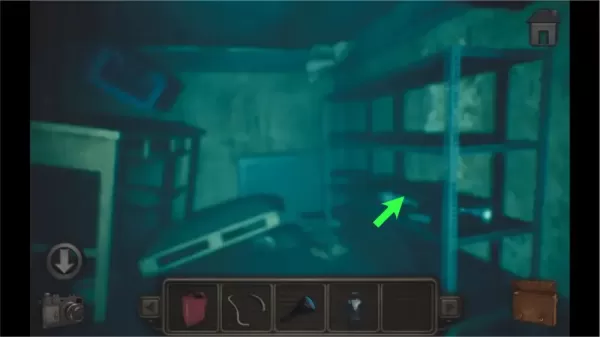
Tap on the oil drum where you deposited your jerry can before and use your hand drill on the opening and then the hose on it. Once you do, take the oil-filled jerry can.
Leave the area, and go back through the metal door and through the water. This time go to the right path. You’ll see an elevator at the center of the room but it won’t activate. Approach the hatch to the right of the room and use the oil-filled jerry can on it in order to open it.
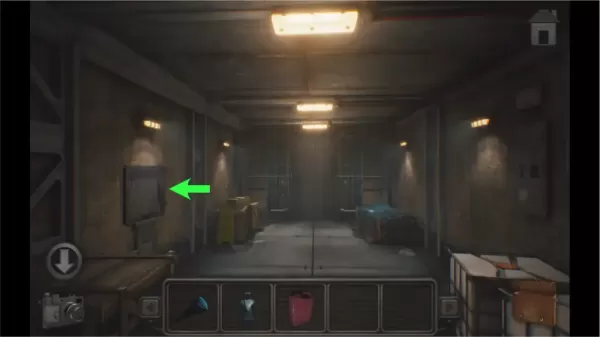
Upon opening the hatch, you’ll face a mini-game where the objective is to bring the c-shaped block from the upper left corner to the two green blocks on the right side. The way this puzzle works is the vertical blocks can only move vertically and the horizontal blocks can only move horizontally. Only the c-shaped block can move both vertically and horizontally. If you make a mistake, you can click on the reset icon to the left to start over.
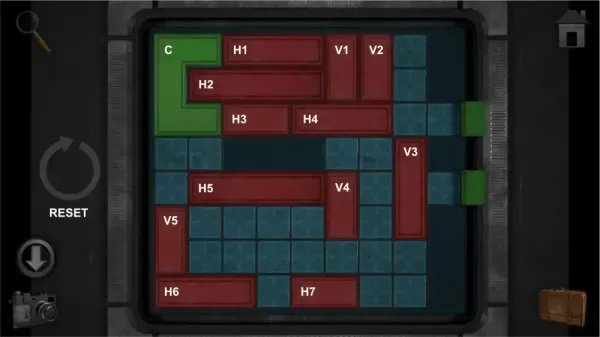
To make things simple, we’ve broken down the step-by-step process in solving it using the codes we named for each block:
Drag V3 2 squares down
Drag H4 2 squares to the right
Drag V1 2 squares down
Drag H2 1 square to the right
Drag V4 1 square down
Drag H5 4 squares to the right
Drag C 2 squares down
Drag H3 1 square to the right
Drag C 1 square to the right
Drag V5 5 squares up
Drag C 1 square to the left
Drag C 2 squares down
Drag C 3 squares to the right
Drag V5 5 squares down
Drag H1 2 squares to the left
Drag H2 2 squares to the left
Drag H3 3 squares to the left
Drag V1 2 squares up
Drag H4 4 squares to the left
Drag H7 1 square to the right
Drag C 1 square down
Drag H5 5 squares to the left
Drag V3 5 squares up
Drag H7 1 square to the right
Drag V4 3 squares up
Drag C 1 square to the right
Drag C 1 square up
Drag C 2 squares to the right
Drag H7 3 squares to the left
Drag V4 4 squares down
Drag C 1 square up
Drag C 1 square to the left
Drag V3 5 squares down
Drag C 1 square up
Drag C 2 squares to the right
The puzzle should look something like this once it’s been solved:
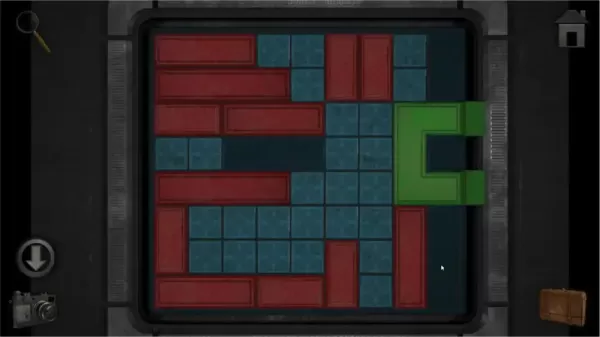
Upon solving the puzzle, enter the elevator and activate it using the lever to finish the game.
- Version1.9.7
- UpdateOct 11, 2024
- DeveloperNovaSoft Interactive
- CategoryCasual & Puzzle
- Requires AndroidAndroid 4.1+
- Downloads1M+
- Package Namecom.novasoftinteractive.games.meridian157prologue
- Signature9619652c1336d77bd218e16e58ff561d
- Available on
- ReportFlag as inappropriate
-
NameSizeDownload
-
92.02 MB
-
91.80 MB
-
91.32 MB


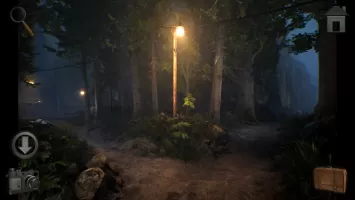
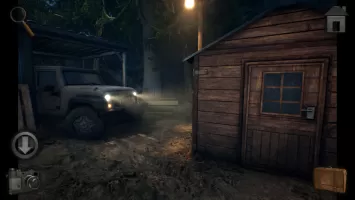
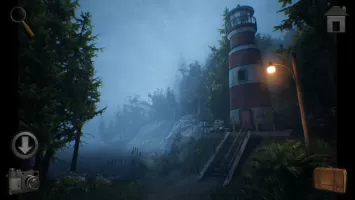









Immersive Visuals
Intriguing Storyline
Multi-Language Support
Occasional Clue Confusion